I hope you enjoy the process.
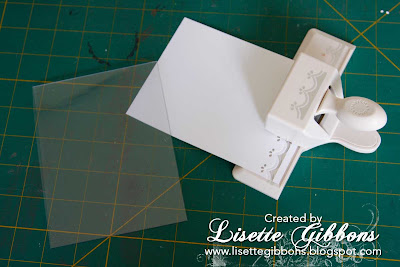
Step 1: I started with of course a clear card from Shortcuts and a piece of cardstock. I punched the border at the bottom.

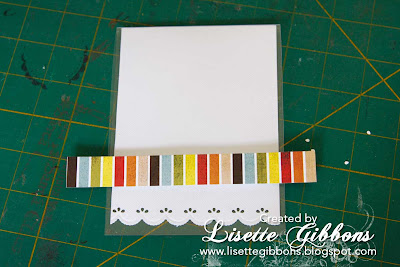
Step 3: I adhered a small strip of paper (3/4") to the lower part of the front. And trimmed it on both sides.

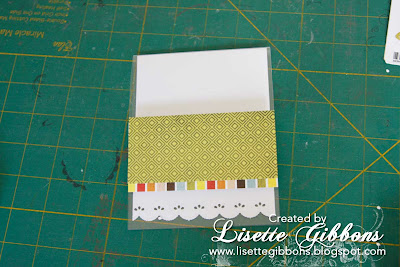
Step 5: I trimmed the edges again. I always like to overlap on both sides before trimming, so I know that it's straight and cut along the edge of the card.

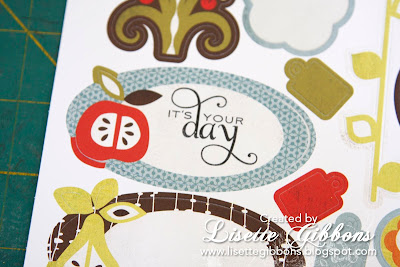
Step 6: Before I adhere the label I first stamp the sentiment on it, to make sure it stamps right on a flat surface.

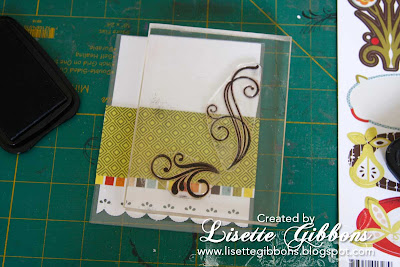
Step 9: Realisinig the card looks quite bare I decide to remove the label gently and add two swirl stamps. I stamped them at the same time.

Supplies: Sheetload Shortcuts clear card| Bazzill Basics Cardstock | Martha Stewart border punch | Basic Grey patterned paper + die-cut | Prima flowers | Me and My Big Ideas rhinestones | Papertrey Ink clear stamps | Staz'On ink Jet Black
Sometimes it's very easy to play along with sketches, but they don't always speak to me. This one was a breeze. I hope this has given you some inspiration.
Thank you Alicia for letting me be your Guest Artist during the past month. Have a great weekend.


5 comments:
Oh my gosh, just found your blog on my travels...so much inspiration here and I love this tutorial!
Super! Mooie kaart en leuke die toturial, Lisette!
xoxo
Ingrid,
Thank you SO much for joining us in July. I loved each of your projects and this tutorial is fantastic. It is great to see your thought process while creating from a sketch.
Thanks!!
Alicia
This is wonderful! I'm so glad you posted this tut! I love the idea of putting the white paper on the INSIDE of the clear sheet. Makes it so much easier to cover the glue marks and then be able to write on the card, too.
Great card and tutorial, Lisette! Welcome home :)
Hugs,
Katie
Post a Comment