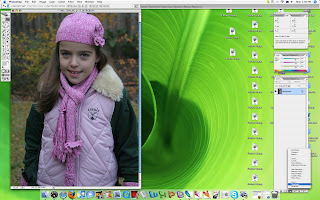
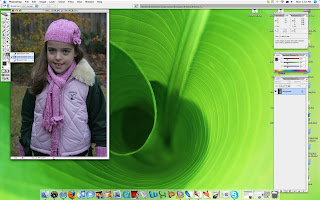
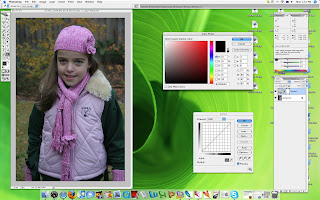
Well, Eric, my brother was wondering how I've been taught to do a colour correction wihtin Photoshop. Firstly I must say we received a seven page hand-out explaining it all. Not that you need huge amounts of time to achieve it, but there is several ways around to do it with the same end result. I'll demonstrate with curves how it's done with this picture of Rebecca:

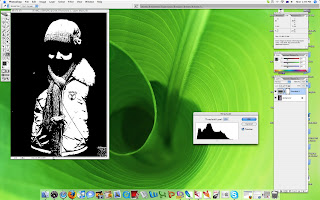
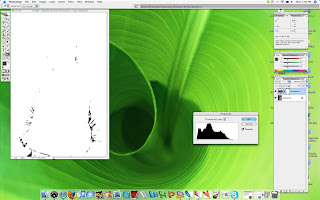
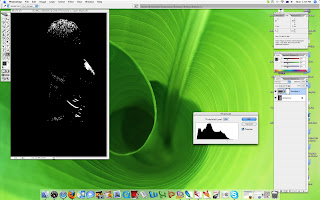
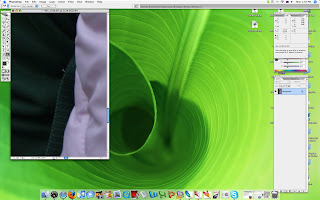
You need to identify the shadows and highlights in you picture. Use image>adjust>
threshold to do this. When you move the slider all the way to the left in threshold the whole picture will turn white. When you slowly move it back in shadows will start to appear. That's the area that you want to 'tag' for your shadows. Move the slider to the right and the whole picture will turn black. When you slowly move it back in you will start to see highlights. This is the area you want to 'tag' for your highlights.
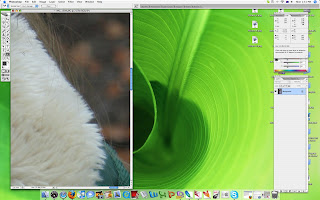
Use
colour sampler tool to 'tag' the shadows and highlights. When you tag you shadows look for consistent RGB values. You can find this in the
info folder of the n
avigator menu on the right hand side of your screen
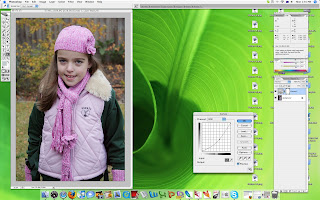
Use levels or
curves to optimise the RGB values in the shadows and highlights. The RGB value for black is 0,0,0 and for white it is 255,255,255. To set the shadows value double click
set black point in the curves menu. Enter the average RGB value of your tagged shadow (e.g. 20,22,20 becomes avg. 21). Always do the shadows first and then the highlights.
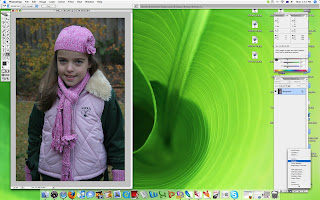


If needed you can manually adjust the curve to lighten the picture all together.
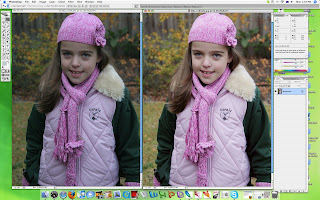
Here's before and after:
If you have Photoshop you might want to give it a try yourself.


