
I hope you enjoy the process.
Step 1: I started with of course a clear card from Shortcuts and a piece of cardstock. I punched the border at the bottom.
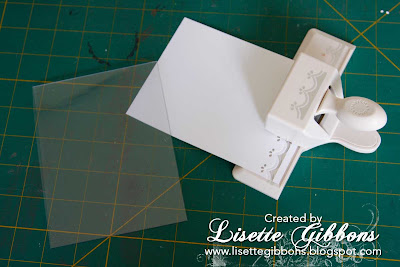

Step 2: I adhered the cardstock to the back of the clear card using glue dots.


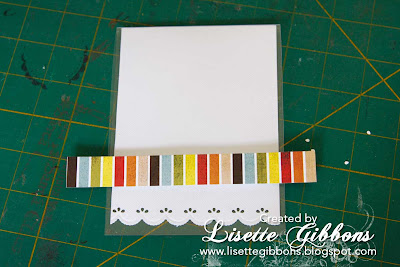
Step 3: I adhered a small strip of paper (3/4") to the lower part of the front. And trimmed it on both sides.

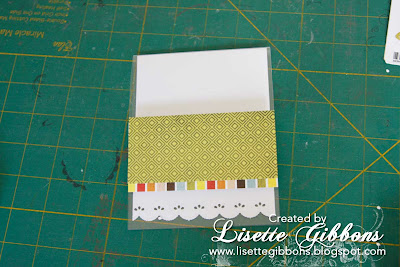
Step 4: I adhered a second strip of paper (2") above the other strip slightly overlapping.


Step 5: I trimmed the edges again. I always like to overlap on both sides before trimming, so I know that it's straight and cut along the edge of the card.

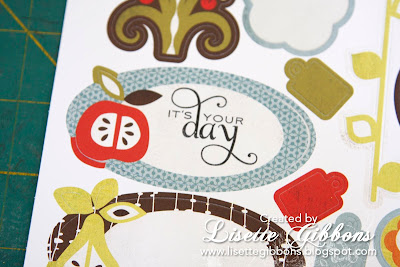
Step 6: Before I adhere the label I first stamp the sentiment on it, to make sure it stamps right on a flat surface.

Step 7: To give the label some depth I use my favourite dimensionals from Stamin'Up.


Step 8: I adhered the label.


Step 9: Realisinig the card looks quite bare I decide to remove the label gently and add two swirl stamps. I stamped them at the same time.
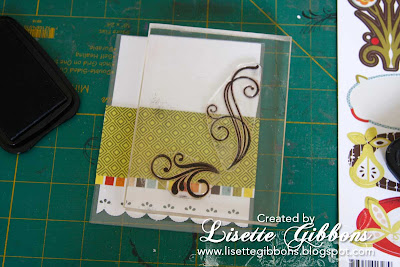

Step 10: I put the label back in place.


Step 11: As on the sketch I add two flowers and some rhinestones.


And this is the result.


Supplies: Sheetload Shortcuts clear card| Bazzill Basics Cardstock | Martha Stewart border punch | Basic Grey patterned paper + die-cut | Prima flowers | Me and My Big Ideas rhinestones | Papertrey Ink clear stamps | Staz'On ink Jet Black
Sometimes it's very easy to play along with sketches, but they don't always speak to me. This one was a breeze. I hope this has given you some inspiration.
Thank you Alicia for letting me be your Guest Artist during the past month. Have a great weekend.


